Templates are a handy resource for any apparel designer to mockup your awesome tee design and show it off in all its glory. Such resources can be a little tricky to come by, especially those high quality files, but check out this huge collection of T-Shirt mockup templates, featuring plenty of highly useful files in both vector and PSD format for use in your future apparel projects.
In one of the recent posts, we looked at some reasons why some developers switch to the Mac. If you've decided to make the switch yourself, you can do a lot to make the transition smoother. We will take a look at some must-have software, configurations and hacks that can make your life easier as you switch and that can get you up to full productivity (and maybe beyond) in no time at all.
We have tried to find as many free solutions as possible, but you have to pay for some applications to get their full functionality. If we have missed a configuration, hack or piece of software that you found helpful when switching, please post it in the comments.
Configurations
Right-Clicking
One of the most visible differences between Macs and other computers is the former's lack of a second button on the mouse. The Mac mouse harkens back to the original mouse invented at the Xerox Palo Alto Research Center, which also had only one button. Eventually, Windows grew to ubiquity, touting its two-button mouse, and the world became comfortable with that configuration. As a switcher, you're used to that handy right-click, and lucky for you, the habit doesn't have to end.
All Macs support right-clicking, and it works just as it does on a Windows system, popping up menus and extras. Without messing with your settings, you can always hold "Control" and click to active a right-click on a Mac, but this gets tedious pretty quickly. To make the experience more seamless, go into your preferences and activate "Tap to click" and "Secondary click," which will allow you to tap the trackpad with two fingers simultaneously to trigger a right click. It may sound odd, but it takes only a few minutes to get used to. You can also just hold two fingers down on the trackpad and click the physical mouse button to get the same effect. Of course, plugging a two-button mouse into a Mac is another way to get your right-click back.
Tweak Mouse-Tracking Speed
The mouse tracking on a Mac feels quite different from that of Windows because it does not accelerate. This can be partly alleviated by turning the tracking speed all the way up. But if you really pine for that Windows feel, you can try SteerMouse, albeit for $20.
Turn Off Screen-Dimming
While some people want their screen to dim after a period of inactivity, it can quickly become annoying for others. This feature can be turned off in the preferences under the options for "Energy saver."
Turn on the Firewall
Macs include two firewalls: a packet-filtering firewall called IPFW that filters traffic based on type, port number, origin and destination, and a socket-filter firewall (new in Leopard) that filters based on the application making the request. While the socket-filter firewall in OS X is disabled by default, you can go into "Preferences > Security > Firewall" to enable it. IPFW is short on configuration options, but that can be remedied by downloading either NoobProof or WaterRoof, which give you more security options.
Log-In Items
Setting applications to start upon logging in is actually quite simple on a Mac. If the application you want to start at log-in is on your dock, simply right-click its icon and choose "Open at log-in." You can also go into "Preferences > Accounts > [your account] > Log-in items" and add applications manually there. Keep in mind that the more applications you set to open at log-in, the longer your systems will take to boot.
You can also change the background for the main log-in screen on your Mac. This handy little piece of freeware takes whatever your desktop background is and mirrors it onto your log-in screen. Or you can use the following command in your terminal to change it to any image you want:
Hot corners allow you to set up each corner of your screen to be a hot spot that triggers an event whenever you mouse over it, such as shuffling active windows to off screen to show the desktop or displaying widgets. This gets interesting when combined with the "Expose" and "Spaces" features.
Expose spreads your windows out on the screen so that you can focus on a new one. Once you get used to it, you'll wonder how you ever lived without it. To make it really useful, set up a hot corner to activate it. Additionally, Spaces allows you to display multiple desktops from a bird's-eye view. Add this to another corner and you've got something really special. You'll be able to show the desktop, drag a file, switch to a different space, find a window that's hidden behind several others and drop the file into that window, all with one mouse click. Check it out in the video below:
Play around with different hot corner configurations to find the one that best suits you. I recommend using three of the four for the "Expose All Windows" and "Show Desktop" functions and Spaces. If you have a laptop, setting one of the corners to put the display to sleep is handy because no button or key does that otherwise.
Configure Spaces
Having multiple desktops to work from can be a boon to productivity. Spaces allows you to create up to 16 different desktops, enough to satisfy even the most spastic multi-tasker. Along with these desktops, you can specify that certain applications only open in certain spaces, as well as specify that some apps display no matter which desktop you're working in. Here are a few applications we suggest displaying in all spaces: Chat applications (Adium, iChat, IRC), movie players (VLC, QuickTime, DVD player), Twitter clients and any application useful in more than one context. I have a space for general Web browsing, iTunes and iPhoto, email and communications, Photoshop and design, coding and development, Windows virtualization, notes and reminders and one that I keep clean just in case.
Add Activity Monitor to the Dock
Activity monitor is the equivalent of the task manager in Windows. Certain items, when added to the Dock, take on a few extra behaviors. In the case of the activity monitor, those items can display helpful information instead of their icons while sitting in the dock: such as a pie chart showing how much memory is being used, a live graph of processor activity and more. While you can always pop up a window and hit Command + Option + Esc (your new Ctrl + Alt + Delete) to force quit an application, you don't get any information about programs that are running. Clicking on the activity monitor gives you the force quit option and a wealth of information about your processes.
A Smarter Finder
Finder is a file explorer that people either love or loath. You can do a few things to make it more useful, though. Right-click on the top part of the finder window, much like you would to edit a toolbar in the browser, and you'll see that you can configure the buttons in the finder window. Choose "Customize Toobar" and add the "Path," "Delete," and "New Folder" buttons, along with any others you desire.
In the left sidebar of the finder, you'll see a list of favorites, including your home folder, main disk drives, any attached drives and the most used folders (photos, music, sites, etc.). You can customize this list by dragging folders and other items onto the sidebar. You can also add "smart folders" (File > New smart folder) that filter files based on a set of rules. For instance, one smart folder I keep in my sidebar is a list of all files over 100 MB, in case I need to free up some hard drive space. If you want to add separators to the sidebar, there's a neat little guide on how to do that here.
You can download toolbar scripts for even more functionality. For instance, you can add a button that opens the terminal in whatever folder you are currently browsing. Check them out here. Of course, if you end up hating the finder, you can try an alternative, like Cocoatech's Path Finder
Hacks
Widgets on Your Desktop
Widgets are Apple's version of Konfabulator (now Yahoo! Widgets), but unlike Konfabulator, they are doomed to exile in the dashboard (a "second desktop" that pops up when you hit the right keys or hot corner). The problem with Dashboard is that the more widgets you have running, the longer they all take to pop up the first time you activate it after a restart. If you prefer to have your widgets available on demand on the desktop, enter the following command into your Mac terminal:
defaults write com.apple.dashboard devmode YES
To place a widget on the desktop, open up Dashboard, start dragging the widget and close the dashboard. Unfortunately, widgets will stay on top of all your windows. Frustratingly, the only way to override this behavior is to get a paid application called Amnesty Widgets, which makes OS X's widgets more like Yahoo Widgets. Of course, you could just use Yahoo! Widgets and forget OS X's widgets altogether.
Change Command to Control
This is an adequate configuration for most, but an absolute lifesaver for some. It took me a while to get used to using Command instead of Control, but I eventually broke the old habit. Some people have been known to give up on the platform because of this issue. For those of you who have a hard time adjusting, simply map the Command key to Control. doublecommand and fKeys are popular utilities that let you do all sorts of custom mapping to make your switch easier.
Maximize Your Zoom
One of the weirdest quirks to get used to when switching to the Mac is the behavior of the "Zoom" button on windows (the green button in the top-left corner of all windows). Instead of sticking the four sides of the window to the very edges of the screen, Zoom will simply expand the size of the window to fit the screen but the window will remain draggable. Often it doesn't even do this and instead changes the size of the window in unexpected and frustrating ways. Luckily you can download a handy little plug-in to force Zoom to use the window's maximize function. Other than using this plug-in, you'll have to get used to dragging the bottom-right corner of the window to force it.
Hidden Applications, Hidden Files
If you ever need to find files that are hidden by default, type this into the terminal:
You can hide windows by hitting Command + h, but you get no indication that a window is hidden once it's gone. To make the application icon more transparent in the dock when it is hidden, type this into the terminal:
defaults write com.apple.Dock showhidden -bool YES killall Dock
Quick Look Expanded
Quick Look can save you precious seconds by showing you a preview of a file before opening it in its default program. Simply hit the space bar on a file to activate it. This is limited to certain files, but a few handy plug-ins out there give you Quick Look functionality for folders, Zip files and more. theAppleBlog.com has compiled a great list of fours such plug-ins.
Safari Debugger
Safari offers a great browsing experience, despite what you may have heard. It's quick, clean and powerful, although not that easy to customize. You can apply a few neat hacks to make it a little more useful though. To enable the surprisingly rich Web development debugger tool, type this into your terminal:
For a wealth of Safari hacks and plug-ins, check out Safari Hacks and Pimp My Safari. SAFT is a great extension for Safari that provides a lot of great functionality for $12.
Customize Your Dock
Apple has very definite feelings about how the Dock should look because it does not give you many means of customization. To mess with the look and feel of the Dock, you can try Mirage, which removes all styling, Candybar, which gives you a variety of styling options, and Leopard Docks, a website dedicated to custom Dock stylings.
When the Dock is on the left or right side of your screen, it goes from a 3-D look to 2-D. If you prefer the 2-D and bottom-screen configuration, type this into your terminal:
defaults write com.apple.dock no-glass -boolean YES killall Dock
As far as the Dock's behavior goes, here's a must-have hack you can apply. Add a "Recent files" stack to the Dock by entering the following in your terminal:
If you want a certain file to open in a certain program, right-click on a file of that file type and select "Get info," which will bring up a box with all sorts of information about the file. We're interested here in the "Open with" section, where you can choose its default program. Once you've selected the proper program, click the "Change All" button to make it the default program for all files of that file type. One suggestion: make TextEdit your default program for .doc and .docx files: it opens them much faster than Word or OpenOffice.
Software
While the software library on the Mac pales in comparison to the one on Windows in terms of sheer volume, it does have quite a bit of polish. This polish, however, often doesn't come without a price. Free software for the Mac does exist out there, but it's not nearly as widely available as you're probably used to with Windows. That being said, there are quite a few apps, both free and paid, that you should install on your Mac to make the experience much more enjoyable and productive. Here are a few to get you started:
Multimedia
Flip4Mac Install the free version to play WMV with QuickTime.
Perian Every codec you'll ever need for QuickTime.
VLC The de facto media player for the Mac. Not only does it eliminate the need for the two pieces of software mentioned above, it provides more features than you'll probably ever care to use. Use VLC instead of the built-in DVD player as well. VLC integrates nicely with OS X, and you can even use your Apple remote with it. Just download it.
Connect360 If you want to stream movies, pictures and music to your Xbox 360, this is a great solution for the Mac; some claim it works better than Microsoft's implementation.
Transmission A very lightweight and solid bit torrent client for the Mac. It fits in very well with OS X, style-wise.
Songbird Not everyone wants to use iTunes to manage their music collection. Many prefer Songbird, the much-loved open-source alternative.
System and General Purpose
Growl If having uniform system-wide notifications for all your applications sounds intriguing, you'll want to check out Growl. It works with a vast array of software and is extremely customizable. Some notifications you'll receive let you know when new email, instant messages or Twitter messages arrive, when your downloads are complete, when your computer has been unplugged and when a new song is playing on Last.fm (complete with artist and details). Growl has a myriad of useful plug-ins and uses. Take, for instance, the growl notification that tells you when your tests have passed in your Web application: a must for any Mac user.
Quicksilver While OS X does have the "Spotlight" feature, which allows you to quickly find files and launch applications, it pales in comparison to the snappiness and customizability of the application-launcher Quicksilver, which is very similar to Firefox's Ubiquity. Much like Growl, you can install tons of useful plugins to tailor the experience to your needs. When you start using Quicksilver regularly, you'll find yourself going to the Dock less and less to launch and interact with your applications. It's lightening fast and quite powerful. Imagine hitting a keyboard shortcut, typing "email," "tab," "compose," , and "enter" to send a quick email to somebody. Another must have.
Fluid If you're anything like me, you spend a lot of your computer time interacting with Web applications rather than client-side applications. You may miss the neatness of applications existing independently of your Web browser, too. If you do, then Fluid is the solution. It takes any Web page you specify and contains it within its own Mac application, complete with icon and windowing preferences. Imagine having a dedicated app for your Google documents, Facebook, your favorite Twitter client, your Web analytics and more. It draws on the same idea that Adobe is pushing with Air. Fluid is as extensible and customizable as Growl and Quicksilver.
The Unarchiver You're going to want a program that can handle StuffIt, RAR, ZIP and other compression file types with ease, and the Unarchiver is it. Free and straightforward.
smcFanControl Macs tend to be a bit more of a walled garden than other computers, but that doesn't mean they have to be. With the right amount of research, you can usually find a piece of software or terminal hack that bends the Mac to your will. smcFanControl is one such application, made for those who want to control just how hot their laptops get.
Carbon Copy Cloner If you ever need to transfer your hard drive to another machine, and you will, Carbon Copy Cloner is truly the best solution to the problem. It's rock solid, simple to use and makes the whole process extremely pain free.
Communications
Adium Adium is the de facto chat client for the majority of high-end Mac users out there. It covers more networks than are worth listing here. This is another must-have app.
Colloquy Probably the best IRC client for the Mac. Well designed and extremely extensible.
Thunderbird A great alternative to the default Mail application.
Productivity
Gimp Because the Mac doesn't come with built-in image editing software of any kind, Gimp, the open-source alternative to Photoshop, is a handy install.
Textmate Probably the most popular text editor for the Mac. It's a hefty $50 but worth every penny.
So, there you have it, some configurations, hacks and applications that will make your transition easier. As you make your way on your journey switching over, remember to seek out other Mac users, specifically other switchers, when you have questions or need advice. And as always, check Smashing Magazine regularly for more helfpul Mac guides, articles and resources.
Thursday, 4th June 2009 (by J.D.) This article is about Investing, Retirement
This is a guest post from Robert Brokamp of The Motley Fool. Robert is a Certified Financial Planner and the advisor for The Motley Fool's Rule Your Retirement service. He contributes one new article to Get Rich Slowly every two weeks.
Want tax-free investment growth? Want more control over your retirement savings? Want to leave a bigger inheritance? If so, you should consider contributing to or converting existing retirement savings to a Roth IRA.
For not-yet-retirees The biggest difference between a Roth IRA and a traditional IRA is the tax treatment of contributions and withdrawals. With the Roth, contributions aren't tax-deductible, but withdrawals are tax-free (as long as you follow the rules). For the traditional IRA, contributions might be deductible; investments grow tax-deferred, but withdrawals are taxed as ordinary income — the highest rate possible.
To decide which is best for you, start by determining if you'll be able to deduct contributions to a traditional IRA. If you're not covered by a plan at work, a contribution to a traditional IRA is fully deductible. If you are covered, then deductibility begins to phase out at an adjusted gross income (AGI) of $55,000 for single filers ($89,000 for married couples) and is gone completely at an AGI of $65,000 ($109,000). Contributing to the Roth is then a no-brainer, assuming you're eligible (see fact sheet below).
If you can deduct your contribution to the traditional IRA, you'll have to do some calculations to decide whether a traditional IRA or Roth makes the most sense. The conventional wisdom is that a traditional IRA is better if your tax bracket today is higher than what it will be in retirement. But if you're more than 10 years away from retirement, this is a guessing game. Go with a Roth for all the other benefits.
Another bonus for younger savers: Contributions to a Roth IRA can be withdrawn anytime tax- and penalty-free, even if you haven't reached age 59-1/2 (but you will pay a 10% penalty on earnings you withdraw early). So if you'll need the money before then, you can get it. Finally, there are two other important differences between a traditional and Roth IRA: There no required minimum distributions at age 70-1/2 from a Roth IRA, and you can contribute beyond that age as long as you have earned income.
For retirees Since there are no required minimum distributions from a Roth, you can let your investments grow tax-free for as long as you don't need the money. And unlike distributions from a traditional IRA, non-taxable distributions from a Roth IRA aren't included in the calculation that determines whether your Social Security benefits will be taxed, which might mean double the tax savings.
For heirs The tax treatment of IRAs is the same for owners and beneficiaries. Anyone who inherits a traditional IRA will have to pay ordinary income taxes on the distributions. Not so with the Roth. The account will still maintain its tax-free status. And nothing says "I love you" like giving someone tax-free retirement savings. (Keep in mind that all accounts, IRAs or otherwise, are subject to estate tax if the combined value of a decedent's assets exceeds the exclusion amount, which is $3.5 million in 2009.)
Roth IRA Fast Facts
Who can contribute? Anyone with earned income. Eligibility begins to phase out for single taxpayers with an adjusted gross income above $105,000 and married taxpayers above $166,000.
How much can I contribute in 2009? $5,000 (plus another $1,000 if you're age 50 or older).
Are contributions tax-deductible? No.
How are withdrawals taxed? They're tax-free, as long as you're age 59-1/2 or older and the account has been open at least five years.
Must I take money out at age 70-1/2? No.
Why is it called a "Roth"? Named after Delaware Sen. William Roth Jr. (also known for leading investigations into Pentagon overspending that uncovered the infamous $9,600 wrench and $640 toilet seat).
Why is it so good for colds? You're thinking of "broth."
Should you convert to a Roth IRA? A traditional IRA can be converted into a Roth IRA by anyone whose modified adjusted gross income is below $100,000. The converted amount will count as taxable ordinary income in the year of the conversion (unless the IRA contained non-deductible contributions). But for many people, that one-year tax bite is worth the subsequent years of tax-free growth.
Here are the factors to consider:
Generally, convert only if you can pay the taxes from sources other than the converted funds, especially if you're younger than 59-1/2 and will have to pay a 10% penalty on the money you withdrew to pay the taxes.
If you're near retirement and you expect to be in a much lower tax bracket, the conversion probably won't be worthwhile. This is also true if the conversion will push you into a higher bracket than where you'll be when you take money out of the Roth.
If you're in a lower tax bracket now but required minimum distributions at age 70-1/2 will push you into a higher bracket, converting portions of your traditional IRA to a Roth over a few years (partial conversions are okay) might smooth out your taxes.
If you expect to pay estate taxes, a conversion will save your heirs money because the taxes you pay today will reduce your estate, and assets in a Roth for your heirs will be subject to estate taxes, but not income taxes.
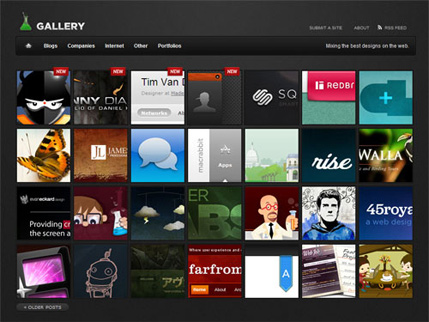
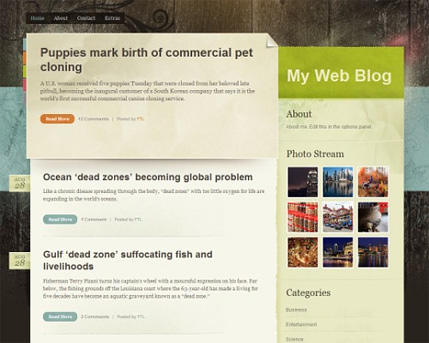
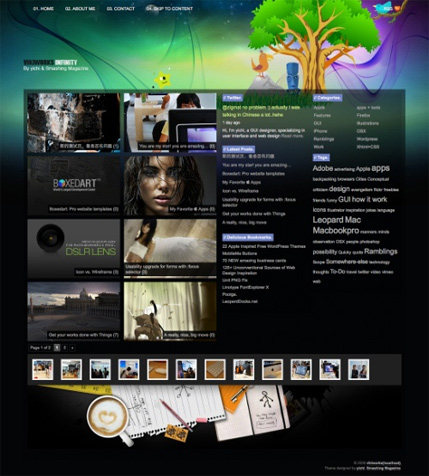
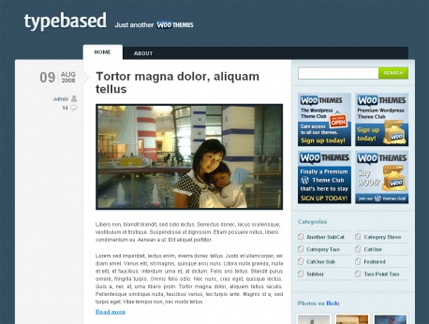
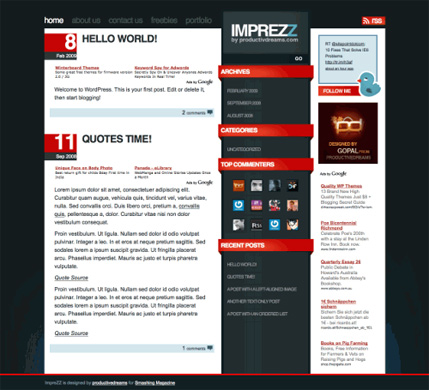
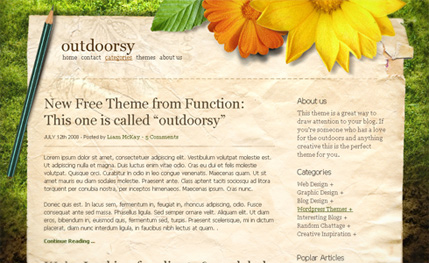
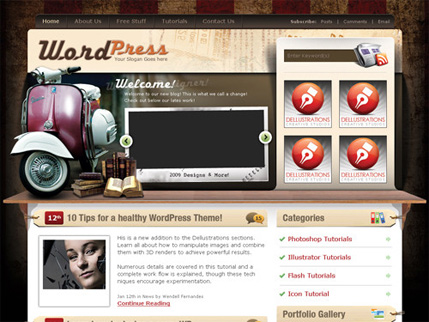
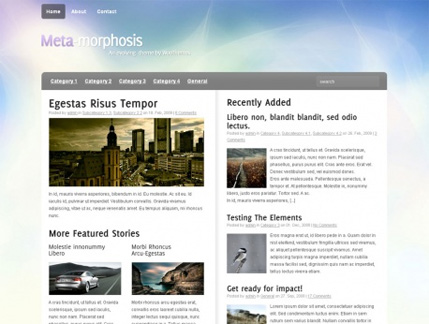
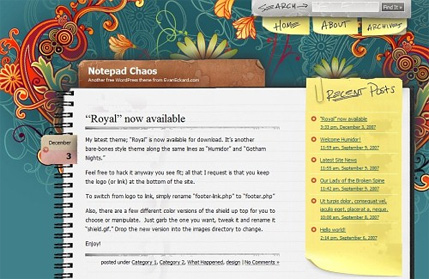
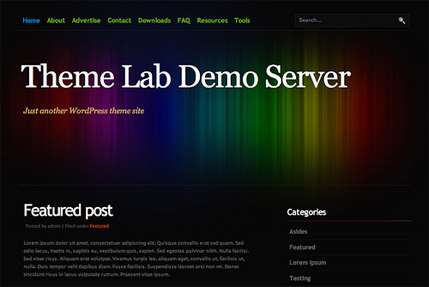
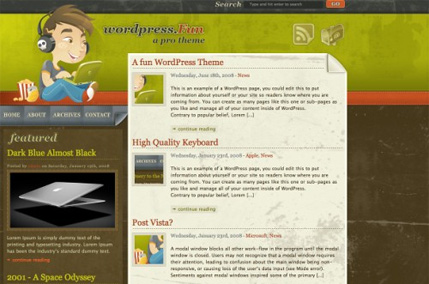
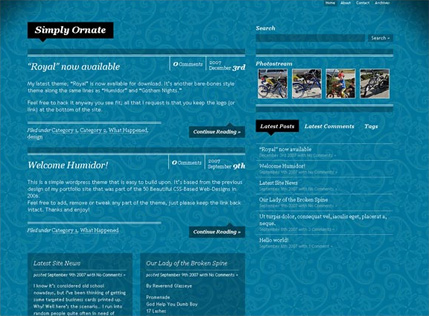
With such a large community that has grown around WordPress, it's no surprise that there are tons of free themes floating around out there. However, there are only a few that look great out of the box. In this article, I've rounded up what I believe are the best looking free WordPress themes available.
Themes don't get more stylish than this one. Magazeen includes some pretty cool features including a thumbnail gallery at the top of the home page that showcases the latest posts.
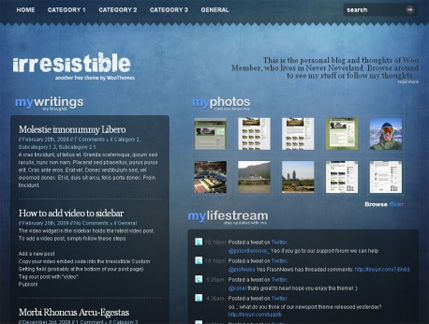
Irresistible is a visually-rich personal blog, with a little bit of a multimedia focus. Some features include: integrated video player, integrated banner ad management, and 9 color choices.

 (Via Emptees)
 (Via Emptees)
 (Via Emptees)
 (Via Emptees)
 (Via Emptees)
 (Via Emptees)


 The biggest difference between a Roth IRA and a traditional IRA is the tax treatment of contributions and withdrawals. With the Roth, contributions aren't tax-deductible, but withdrawals are tax-free (as long as you follow the rules). For the traditional IRA, contributions might be deductible; investments grow tax-deferred, but withdrawals are taxed as ordinary income — the highest rate possible.